Playlist for WordPress
- Last Update
- 4 May 2013
- Regular License
- $11
- Extended License
- $55
- Sales
- 33
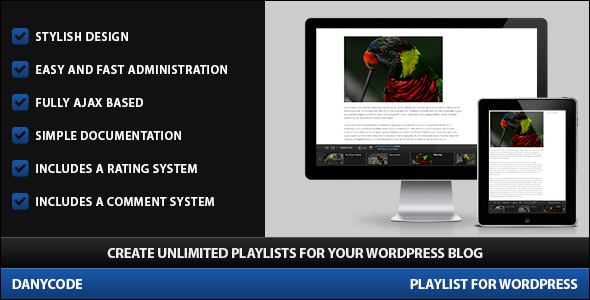
Playlist for WordPress is a WordPress Plugin that allows you to create playlists from your posts. A “playlist” is intended to be a collection of posts that for any reason you want to group together. When a user visits a post included in a playlist, the playlist will be shown in the bottom of the screen, if a post is not included in any of your playlists the playlist will not be shown. Keep in mind that in this plugin all the playlists need to be manually created, and all the playlists thumbnails need to be manually uploaded from your local assets ( png, jpg, gif ). If you are looking for a plugin that generate automatically a gallery of posts/custom posts/pages from a specified query check out Recent Posts Revolution. As administrator you can create unlimited playlists by visiting Playlist, every playlist must have a name and optionally a description. When your first playlist is done you can proceed to the next step and add items to the playlist, every item require a little thumbnail image that will be used in the playlist. Once your playlist is completed visit a post included in your playlist to see the result. Playlist for WordPress include a responsive rating system: In the Live Preview click on the like or dislike button to test it. Quick Start
Upload the Playlist for WordPress plugin to your blog and activate it ( If you are using the Plugins -> Add New -> Upload feature to install the plugin rename the zipped plugin to wordpress-playlist.zip before the installation, this is useful to avoid installation problems ) Add your playlists through the Playlist menu. Click the Modify button and add items to the Playlist. Test your new playlist by visiting a post included in the playlist, if you like your new playlist go to the Options menu and remove the Test Mode flag. Your new PlayList is now available for all the website users. Now we are going to test the Comment feature and the rating system. Click on the Comment button and add a comment, once you have done click on the Like or Dislike button to rate this post. Now go back to the administrator area and enter in the Comments menu, you can now find your new comment, click on the Approve button to approve it, so it will be displayed in your post. The Avatars displayed in the Comments sidebar work with the standard Avatars system provided by Wordpress, if you want to select different Avatars go in Settings -> Discussion and select your Avatars. Now visit the Like & Dislike menu, here you can find the Like or Dislike that you made 1 minute ago. If you have spam problem with the Comment feature, visit the Ban Users menu and add an Email address and an IP address to ban, all the comments posted by banned users will be automatically rejected.
Configuration Options Inside the Options menu you can find the following configuration options:
Number of Posts available in the Playlist Editor: Here you can set the maximum number of posts that will be shown in the Playlist Editor. Category of Posts: Here you can filter by category the list of posts that will be shown in the Playlist Editor. Test Mode: While in Test Mode only the Administrator can see the Playlist in the frontend of your website, this is useful to setup this plugin and to test your first playlist. Start the Playlist Maximized: You can choose to display as default status the playlist maximized ( with visible playlist items ) or minimized. Disable the Comment Feature – Select this flag to disable the comment feature.
Important Notice This plugin make use of the Jcarousel library, do not buy this plugin if your theme or plugins are already using the jCarousel library, otherwise you can generate a conflict between two implementations of the same library and i’m not available to offer customization to work around this problem.
